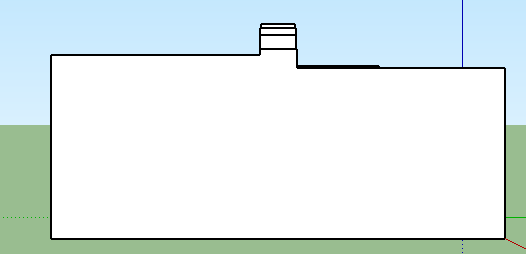
In this assignment, we are taking at minimum three objects from our previous design (assignment 7) and creating a tile. First we had to make quick sketches that transformed into 5" by 5" squares. We choose our two favorite squares and made them into 10" by 10" squares done on illustrator. In this part we did value studies using 20-80% grey tones. The grey color is supposed to represent where out tile either went up or down. We then transferred our design into Sketchup showing the various heights, and we also made it 10" by 10" by 10" to show how the pattern would carry into other squares. All in all, I like the simplicity nature of my design, not to busy, but just interesting enough in order to keep your interest.


The next part of this project was for us to create a 5 by 5 tiles on a 5' by 5' tile that is 6" thick.


The next part of this project was to create a 5" by 5" by 1/2" tile. We will then use these and create a 3D model.


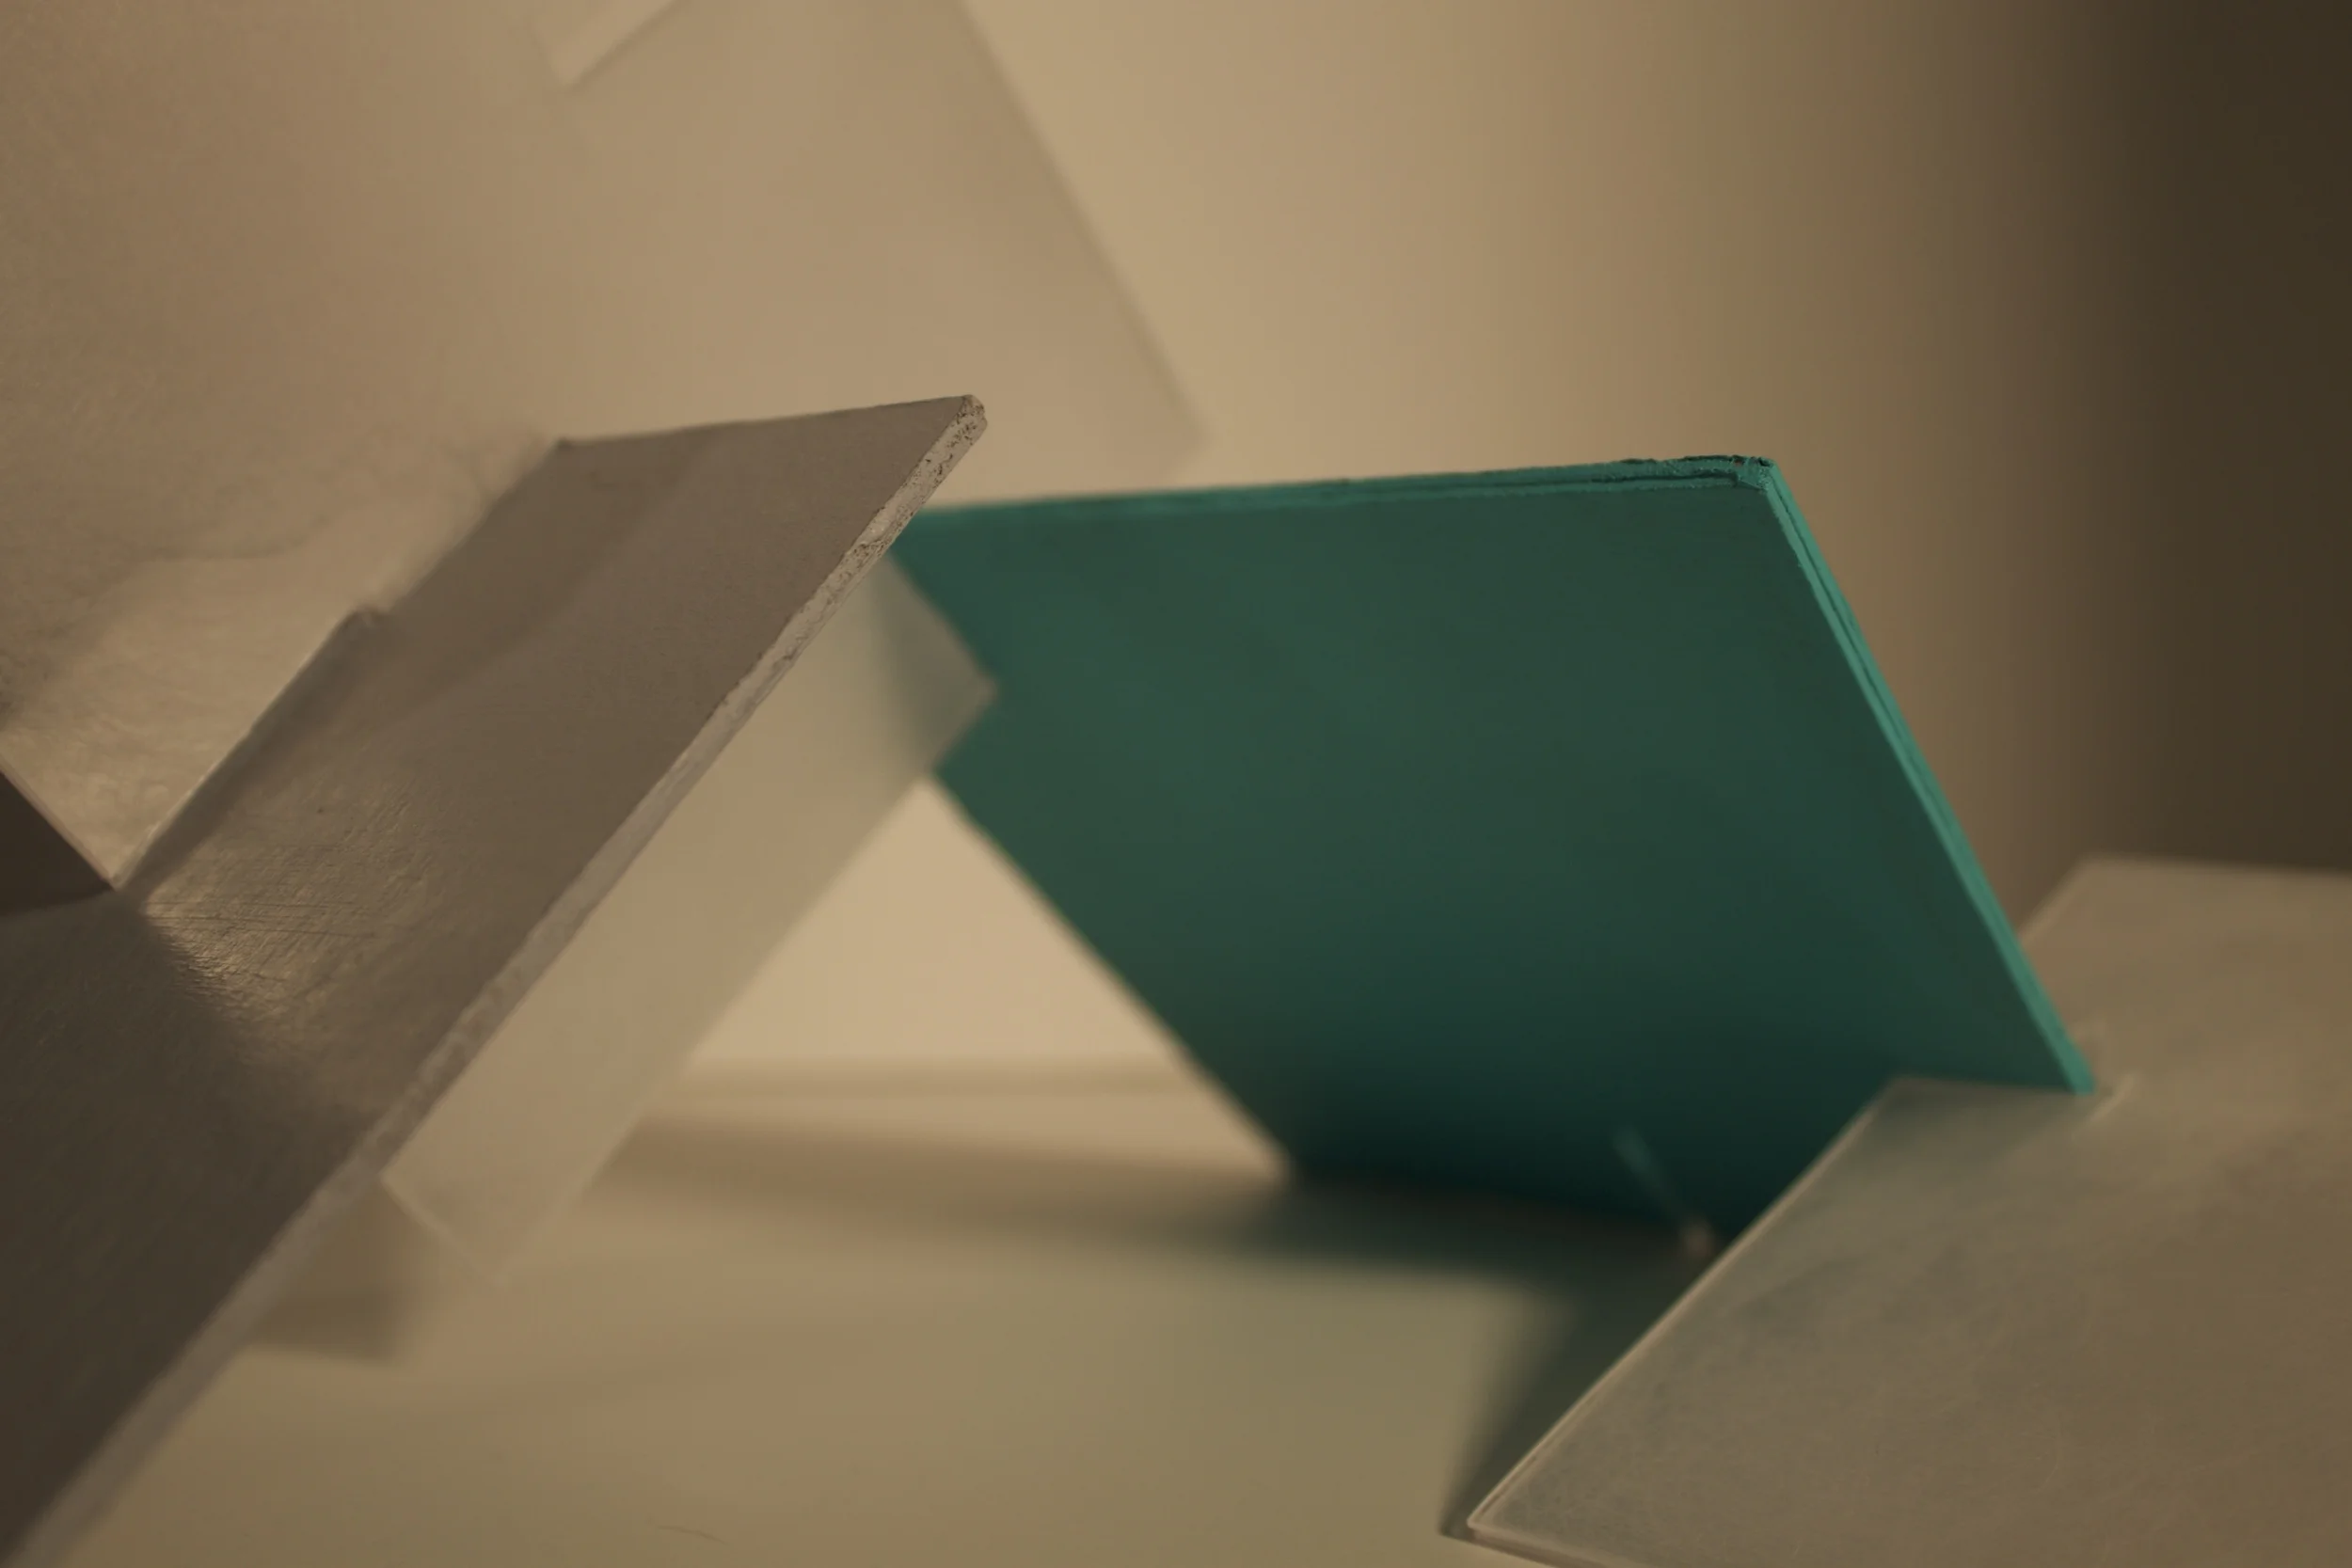
Our next step in this assignment was to work with cardboard and plexi-glass to create shadows using a light source. We got to choose one color and it had to be extremely saturated, and we also were instructed to use a 20% grey. This assignment was really interesting, because we only had one day to complete it and my group and I became very creative in both the craft and the photography.


The next step from the project above was to go back and take more pictures using a camera in RAW, and using Light Room for editing. All in all, the pictures turned out cleaner and shows the light and shadows well.


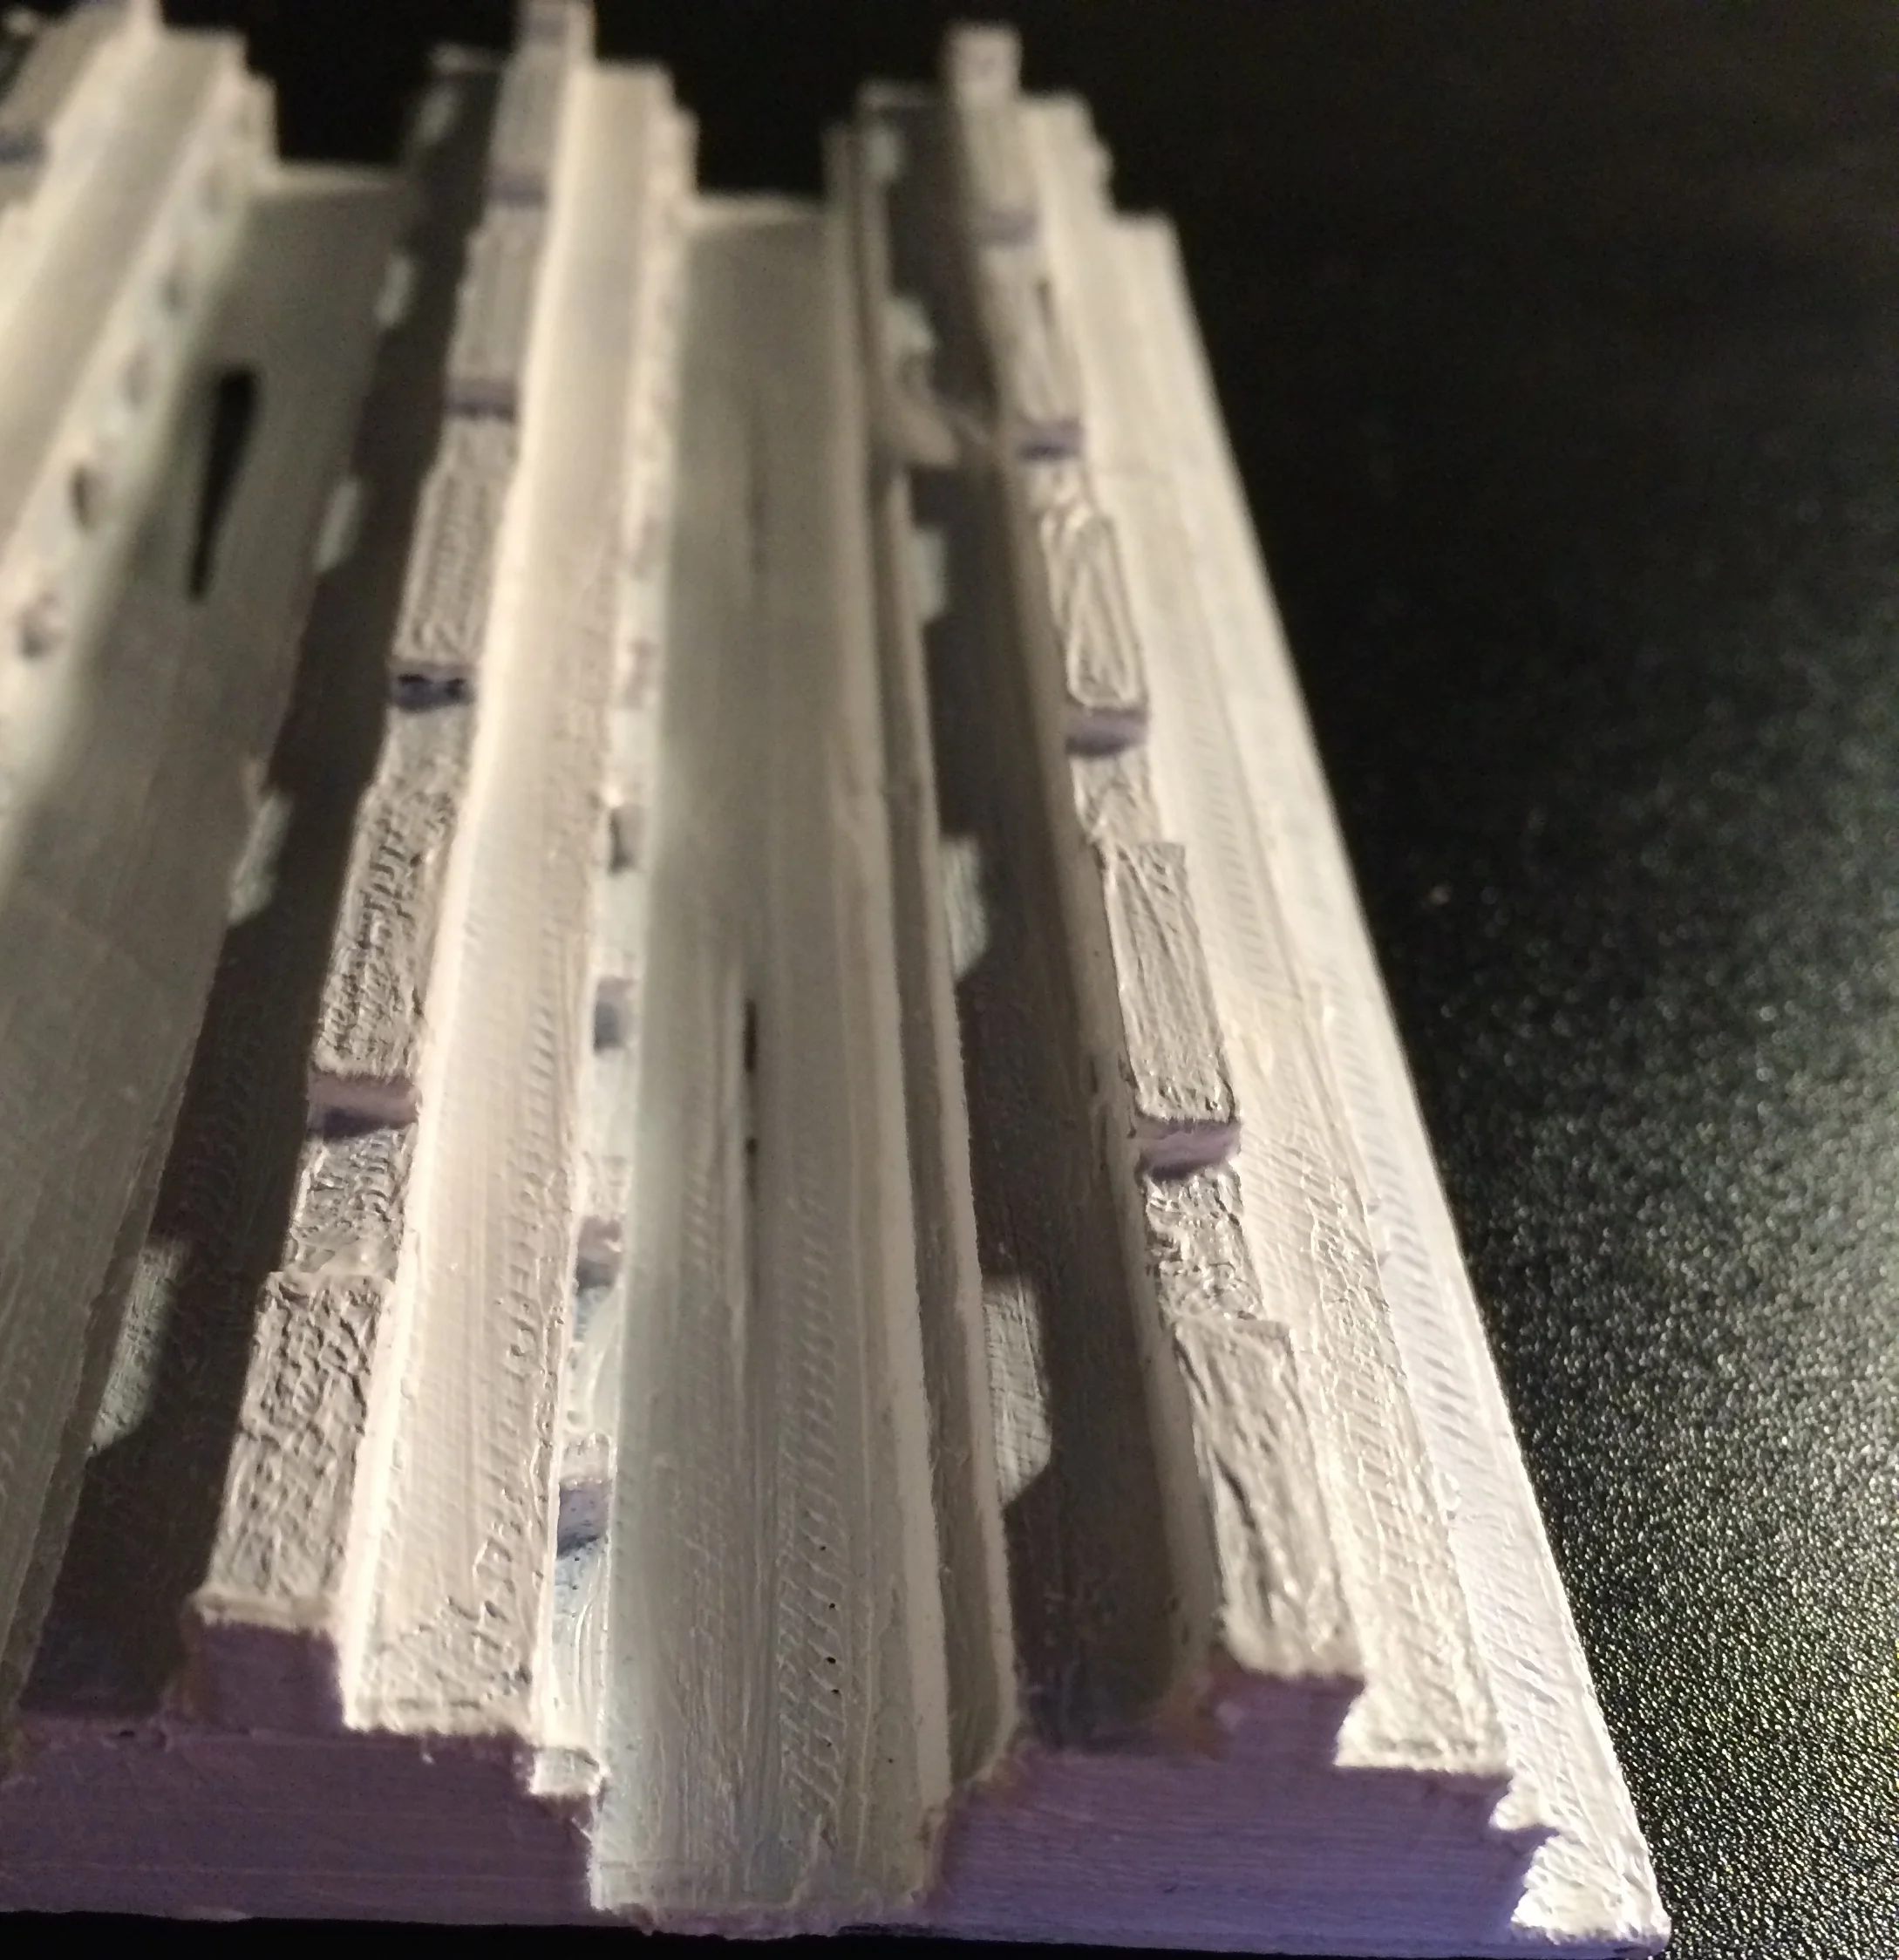
For the final part of this assignment, we had to take one of our final tiles and 3D print. Overall the experience was really interesting, and I had a couple of problems with holes in my print. We then painted the model white, in order show light and shadows better.